insulit 4+2
Ultra thin - Ultra efficient 26 dB
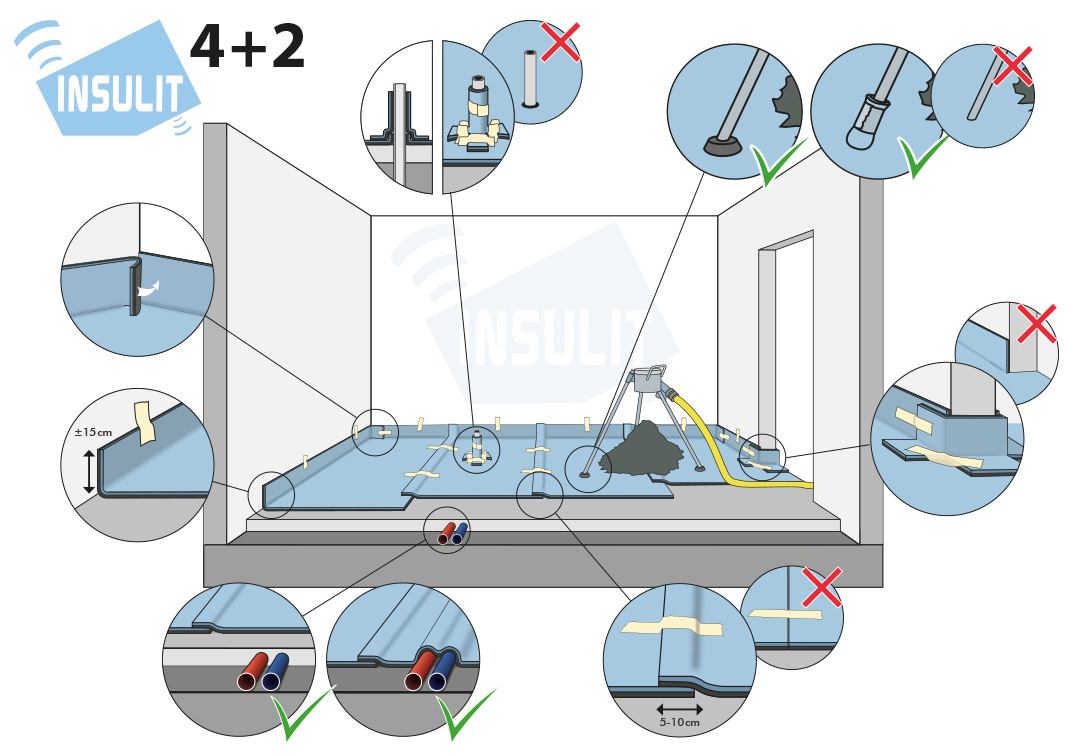
1. Make a leveling screed. If not possible, it is necessary to level-out any unevenness at the intersection of the ducts by using sand or cement.
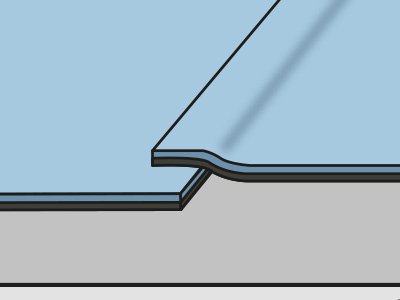
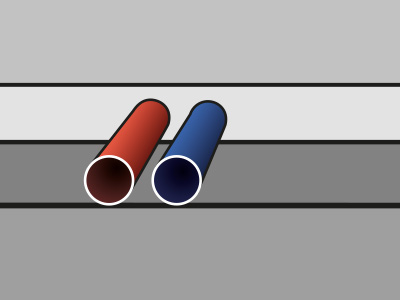
2. Unwind the insulit 4+2 and be sure to make an overlap of 5 to 10 cm.
3. The overlaps have to be maintained using the provided tape.
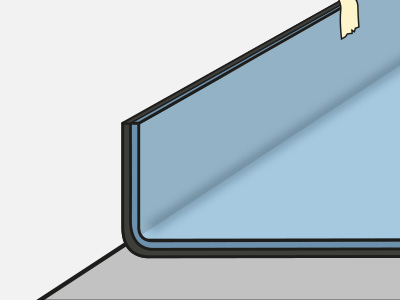
4. Pull the insulit 4+2 about 15 cm up against the wall before making the screed.
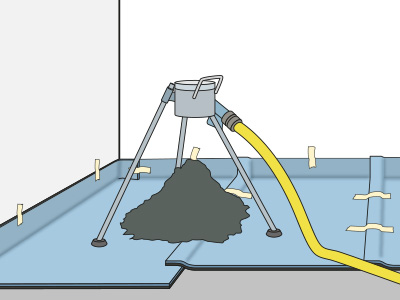
5. Lay a minimum 5 cm thick screed onto the insulit 4+2.
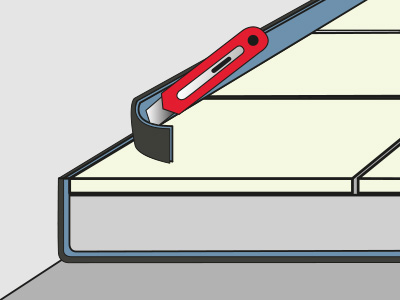
6. Cut-off the remaining insulit 4+2 after the flooring has been installed.
Preparation
Make a leveling screed to cover the pipes and the other ducts. If it’s not possible to create an insulating screed, the insulit 4+2 needs to be unwound directly onto the technics.
The concrete slab must be leveled and carefully brushed. At the junction of the ducts, it is necessary to even out using cement-based sand to avoid creating cavities under the insulit layer.
Installation of the underlay
Unroll the insulit 4+2 underlay with its felt side facing the ground. Under no circumstances should the foam be in direct contact with the ground. Make an overlap of 5 to 10 cm with the foam and felt on the previously laid strip. Maintain the overlap using an adhesive tape (30 cm of tape every 1 m, which needs to be placed perpendicularly to the underlay, should be enough). Lift about 15 cm of the superior insulit 4+2 layer against the walls. In case of a liquid screed, make sure that the underlay is completely waterproof. Carefully isolate the vertical ducts from the screed they are going through by using a handcrafted sleeve made from insulit 4+2..
Making of the screed
Immediately after placing the underlay, pour a reinforced screed (minimum thickness: 5 cm) onto the insulit 4+2 layer. When the screed and the floor covering have been successfully placed, cut-off the remaining insulit 4+2. The plinth has to be placed slightly higher than the floor covering in order to avoid lateral acoustic transmissions. The final step would be to create a flexible joint under the plinth.