
insulit Bi+9
The best thin solution 30 dB
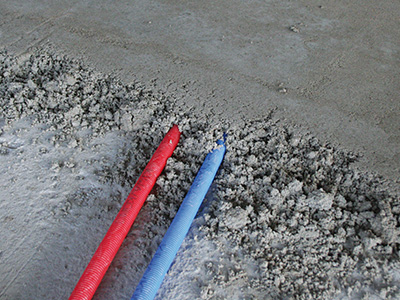
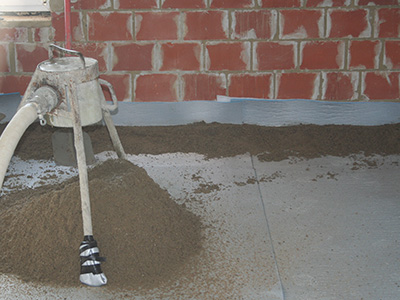
If possible, lay a levelling screed onto the concrete slab or use sand or cement to even out any irregularities at the intersection of the ducts.
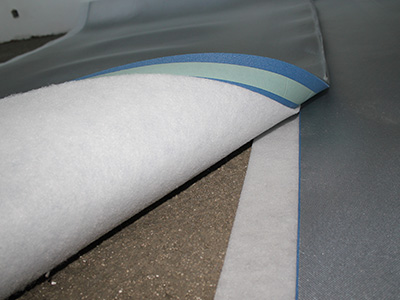
Unroll the insulit Bi+9 with its felt side facing down. Make sure to create an overlap of ± 10 cm, foam on foam, as shown in the picture.
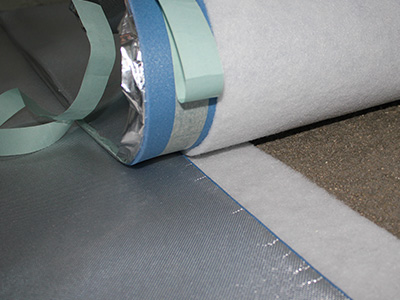
Remove the protective layer from the double sided tape.
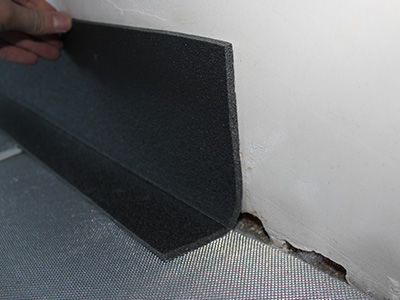
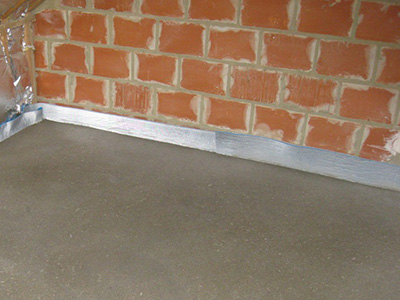
Cut the insulit Bi+9 as close as possible to the wall. The junction between the underlay and the wall has to be made by our peripheral strip, insulco Lfoam.
Pour a reinforced screed (minimum thickness: 6 cm) on the insulit Bi+ 9.
Once the screed and the floor covering are laid, cut the surplus of Lfoam.
Preparation
If needed, place a levelling screed onto the concrete slab in order to cover the ducts. If it is impossible to lay a levelling screed, unroll the insulit Bi+9 directly onto the technics. The concrete slab needs to be evened out and carefully brushed. At the intersection of the ducts, equalize with sand or cement so that there is no hollow space under the insulit underlay.
Installation of the underlay
Unroll the insulit Bi+9 onto the screed with its felt side facing down. Make an overlap of ± 10 cm, foam on foam, thanks to the surplus provided for that purpose. Remove the protective layer from the double sided tape. Cut the insulit Bi+ 9 as close as possible to the wall.
Carefully insulate the vertical ducts from the flooring they cross with the help of insulation sleeves made on the spot using insulit Bi+ 9 or insulco Lfoam.
Installation of the screed
The junction between the underlay and the wall will be made by our peripheral strip, insulco Lfoam. Immediately after the Lfoam is placed, pour an ≥ 6 cm thick reinforced screed on the insulit Bi+ 9. If you are using a liquid screed, make sure that the underlay is totally waterproof. Peel off the excess L-foam 24 hours after its installation. Once the floor covering is laid, cut off the excessive Lfoam. Install the baseboard slightly higher than the final floor covering in order to avoid any lateral acoustic transmissions. The final step would be to make a flexible joint under the baseboard.