
insulit Bi+20
All in one: thermal and acoustic insulation 29 dB
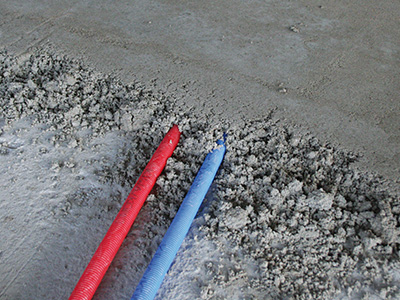
If possible, lay a levelling screed onto the concrete slab or use sand or cement to even out any irregularities at the intersection of the ducts.
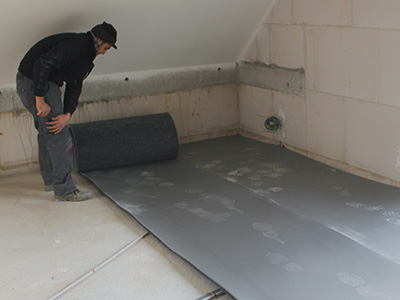
Unroll the insulit Bi+ 20 with its felt side facing downwards. Make sure to lay the strips parallel to each other, edge to edge, and without overlap.
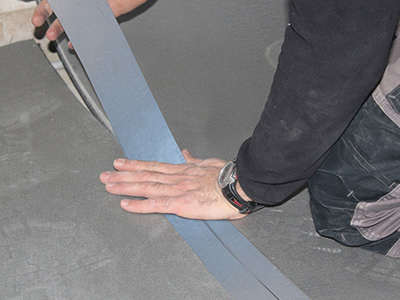
Cover the junctions with the provided StickelTape.
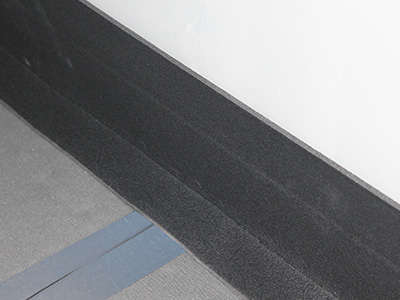
The junction between the underlay and the wall will be covered by our peripheral strip, the insulco Lfoam.
Pour a reinforced screed (minimum thickness: 8cm) on the insulit Bi+20.
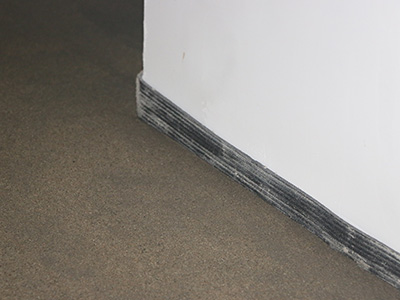
Once the screed is poured and the floor covering laid, cut off the Lfoam surplus.
Preparation
The insulit Bi+20 underlay has to be unwound directly onto the technics. The concrete slab needs to be levelled out and carefully brushed. At the intersection of the ducts, it is necessary to even out by using sand or cement to avoid creating cavities under the insulit layer.
Installation of the underlay
Make sure that the felt side is facing the ground during the installation of the insulit Bi+20 underlay and that you install the strips parallel to each other, edge to edge and without any overlaps. Connect the strips with the supplied StickelTape in order to avoid any thermal bridges. Cut off the excess insulit Bi+20 from the strips which are placed along the walls.
Carefully isolate the vertical ducts from the screed they are going through by using self-made sleeves which you’ll need to create with the supplied insulco Lfoam peripheral strip. Use the Lfoam peripheral strip to create a junction between the insulit Bi+20 underlay and the walls. Before the screed is laid, make sure that the insulit Bi+20 underlay has been installed watertight, if necessary, with a PE-film.
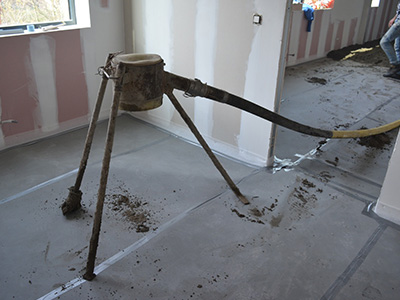
Application of the screed
Immediately after installing the Lfoam, pour an ≥ 8 cm thick reinforced screed on the insulit Bi+ 20. Remove the excedent Lfoam from the wall after a period of 24 hours. Once the flooring has been set, cut off the remaining Lfoam. The baseboard has to be placed slightly higher than the flooring to avoid any lateral acoustic transmissions. The final step would be to make a flexible joint under the plinth. Make sure that the screed is manufactured in compliance with the official recommendations (for Belgium, please refer to NIT 189 and 193).